

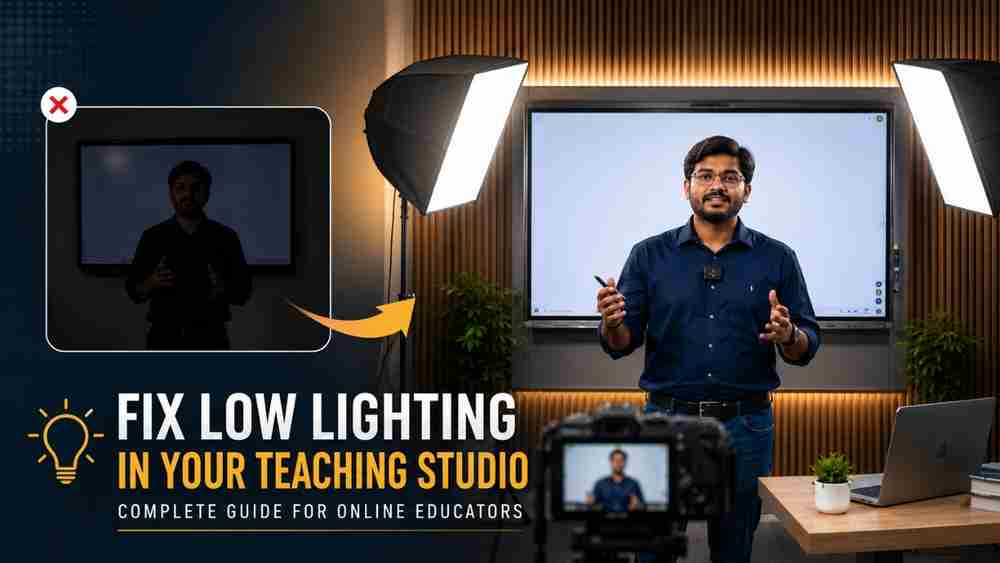
If you've ever recorded an online lecture and noticed that your face looks dark, the whiteboard appears dull, or the video looks grainy, you're not alone. Poor lighting is one of the biggest reasons why teaching videos look unprofessional—even when you're using a good camera.
Many educators spend a significant amount on cameras, microphones, and digital boards but ignore lighting. The result? Low-quality videos that reduce student engagement and make online classes look less appealing.
The good news is that you don't need an expensive studio to solve this problem. With the right combination of soft lights and LED panel lighting, you can dramatically improve your teaching videos.
In this guide, you'll learn why lighting problems happen, how to fix them, and what lighting setup works best for teachers, coaching institutes, schools, and educational content creators.
Why Does Low Lighting Happen?
Lighting problems don't always happen because the room is dark. In most cases, they are caused by poor lighting direction or uneven brightness.
Common reasons include:
- Recording in a room with only one tube light
- Depending only on sunlight
- Light coming from behind the teacher
- Ceiling lights creating shadows on the face
- Low-quality room lighting
- Wrong camera exposure due to insufficient light
- Large classrooms without proper lighting coverage
When the camera doesn't receive enough light, it automatically increases the ISO, which introduces digital noise and makes the video look blurry and grainy.
Signs That Your Teaching Studio Needs Better Lighting
If you notice any of these issues, your lighting setup needs improvement:
- Face looks darker than the background
- Shadows under the eyes
- Digital board reflections
- Grainy or noisy video
- Uneven classroom brightness
- Skin tones appear unnatural
- Students complain about unclear visuals
- Camera struggles to focus
These are all indicators of insufficient or poorly positioned lighting.
The Best Solution: Two Soft Lights + LED Panel Lighting
A simple three-light setup is enough for most teaching studios.
1. Two Soft Lights (Main Lighting)
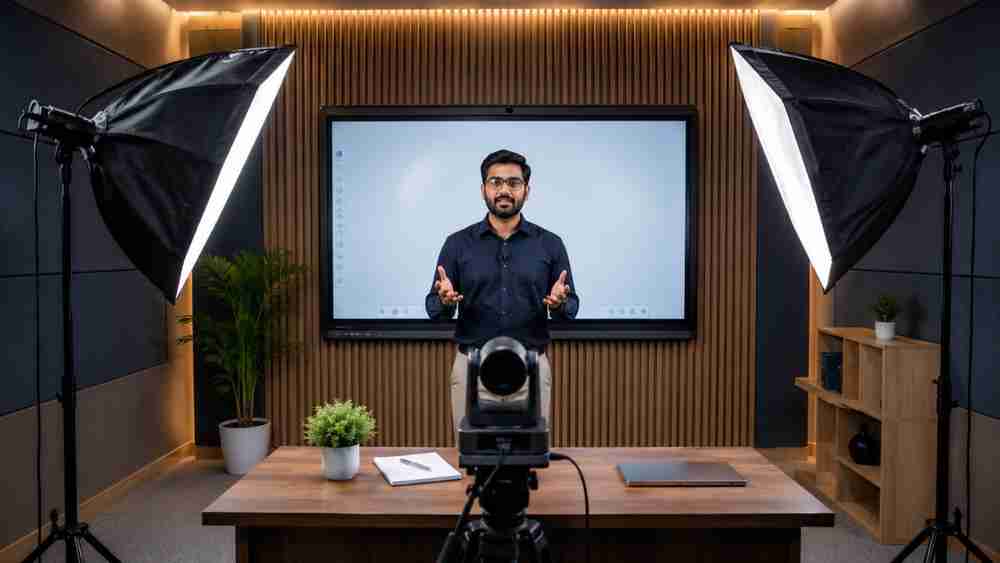
Soft lights create smooth, natural-looking illumination without harsh shadows.
Place:
- One soft light at a 45° angle to your left
- One soft light at a 45° angle to your right
This setup evenly lights your face and reduces shadows.
Benefits
- Professional appearance
- Better skin tones
- Reduced facial shadows
- Comfortable for long teaching sessions
- Ideal for YouTube educators and online coaching
2. LED Panel Light (Background & Board Lighting)
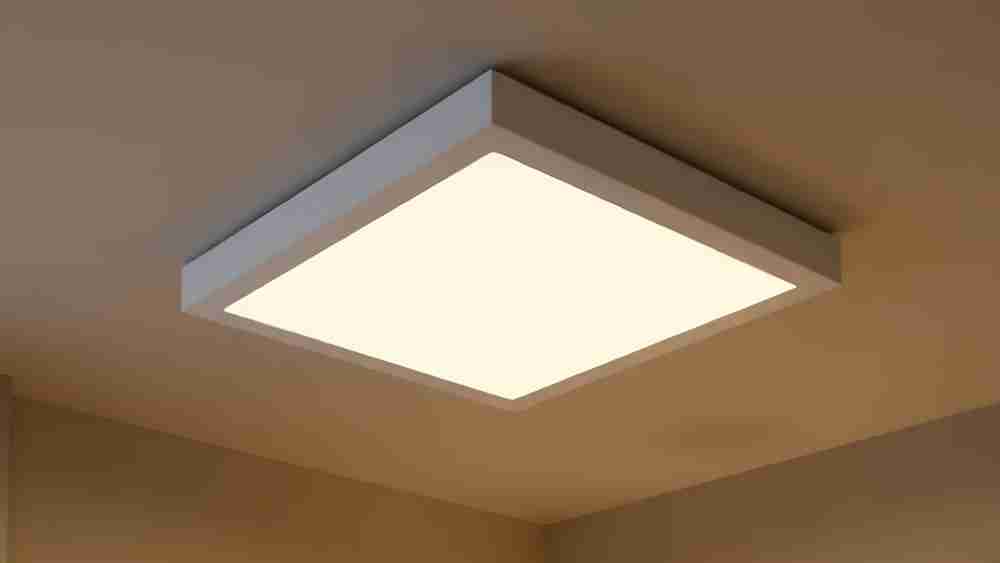
While soft lights illuminate the teacher, an LED panel light brightens the teaching environment.
Install the panel light to illuminate:
- Interactive flat panel
- Whiteboard
- Teaching desk
- Background wall
This prevents the classroom from appearing darker than the teacher and improves overall visual balance.
Benefits
- Bright classroom
- Improved board visibility
- Better camera exposure
- Cleaner background
- Professional studio look
How to Position the Lights Correctly
Many educators buy good lights but place them incorrectly.
Follow this arrangement:
- Soft Light 1 → Left side (45° angle)
- Soft Light 2 → Right side (45° angle)
- LED Panel → Behind the camera or above the board
- Camera → At eye level
- Teacher → Around 1–1.5 meters from the background
Avoid placing lights directly above your head, as this creates unwanted shadows.
Common Lighting Mistakes to Avoid
Even with quality equipment, poor placement can ruin your video.
Avoid these mistakes:
- Recording with only ceiling lights
- Sitting in front of a window
- Using a single ring light for an entire classroom
- Mixing warm and cool light colors
- Placing lights directly behind the teacher
- Ignoring reflections on digital boards
- Overexposing the face while leaving the background dark
Correct light positioning is often more important than buying expensive lighting.
Which Color Temperature Is Best?
For educational videos, use daylight-balanced lighting (around 5600K).
This provides:
- Natural skin tones
- Clear whiteboards
- Accurate colors
- Comfortable viewing experience
- Consistent video quality
Avoid mixing different color temperatures, as it can make the video look unnatural.
Who Needs This Lighting Setup?
This lighting configuration is ideal for:
- Online teachers
- Coaching institutes
- Schools
- Colleges
- Hybrid classrooms
- YouTube educators
- Corporate trainers
- Educational content creators
Whether you're teaching live or recording lectures, proper lighting makes a noticeable difference in video quality.
Why Lighting Matters More Than an Expensive Camera
Many people assume a costly camera guarantees great video quality. In reality, lighting has a greater impact.
A mid-range camera with excellent lighting often produces better results than a premium camera in a dim room. Good lighting improves sharpness, color accuracy, autofocus performance, and overall professionalism.
If you're planning to upgrade your teaching studio, prioritize lighting before investing in a more expensive camera.
Edumark Technologies – Professional Teaching Studio Solutions
Edumark Technologies helps schools, coaching institutes, colleges, and educators build professional teaching studios with the right combination of lighting, cameras, microphones, interactive displays, and recording equipment. From consultation to installation, the goal is to create studio environments that deliver clear, engaging, and professional online learning experiences.
Conclusion
Lighting is one of the most overlooked aspects of an online teaching studio, yet it has the biggest impact on how professional your classes look. By combining two soft lights with one LED panel light, you can eliminate dark shadows, improve camera performance, enhance board visibility, and create a studio that keeps students focused.
If you're serious about producing high-quality educational content, don't let poor lighting hold you back. A well-planned lighting setup is a smart investment that enhances every lecture you record.